You can sign up for a Partner account on partners.shopify.com. If you already have a Shopify partner account and organization that you can use for this workshop, you can skip this.
Note: Even if you already have a Shopify development store, you should create a new one for this workshop, to ensure you have the necessary settings and test data.
- From the Shopify Partners portal, navigate to Stores > Add store > Create development store.
- It's important for this workshop that you select the correct options when creating your store:
- For Development store use, select Create a store to test and build.
- You may use whatever Store Name you like.
- For Which build do you want to test?, select Developer Preview > Checkout Extensibility.
- For Data and configurations, select Start with test data.
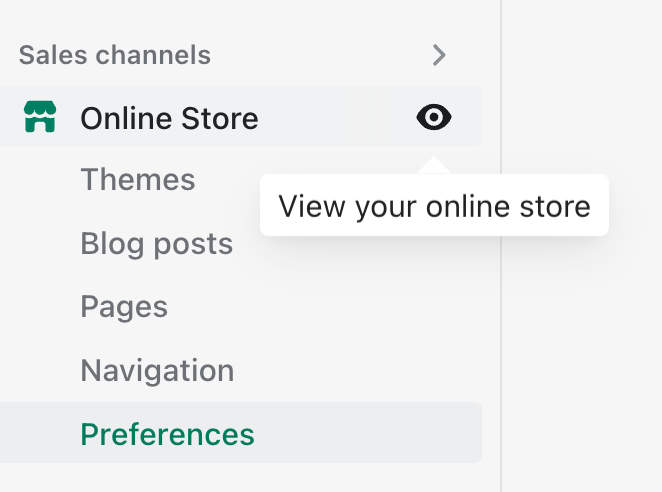
- After creating your development store, the store admin will open. Hover over the Online Store sales channel and click the 👁️ icon to open your store.
- Ensure you have a recent version of Node.js installed.
- Use the following command to create a copy of the app we will be using for this workshop:
npm init @shopify/app@pre -- --template https://github.com/nickwesselman/polyglot-functions/app --name polyglot-functions - This will create an app in a folder called
polyglot-functions. Navigate into it.cd polyglot-functions - Delete the completed functions in the
extensionsfolder – no cheating. 😇rm -rf extensions - Start the app development mode and follow the prompts:
npm run dev- Open Partners and log in, if prompted.
- Select the correct partner organization, if prompted.
- When asked, Create this project as a new app on Shopify?, select Yes.
- Keep the default app name,
polyglot-functions. - If asked, Which store would you like to use to view your project?, select the store created in the previous step.
- If asked, Have Shopify automatically update your app's URL?, select Always.
- Once your app is running and logs are streaming, press p to open your browser, or copy/paste the provided Preview URL.
- The app installation page will open. Click Install app.
You should see the home page of the app:

You're doing great! For this workshop, the discount logic we will be implementing in each language is:
IF customer has VIP metafield with a value of 'true'
AND products in their cart with tag X have a total of more than $Y
THEN discount the order by Z%
But first, you will need to ensure that your store has a customer and products that meet these requirements. The app you just installed added a customer metafield. Metafields are custom data fields that stores and apps can add to various domain objects in Shopify.
- In your store admin, navigate to Customers > Karine Ruby.
- Under Metafields, click Show all.
- For VIP Customer, select True.
- Click Save.
Next, let's add the needed tag to a product.
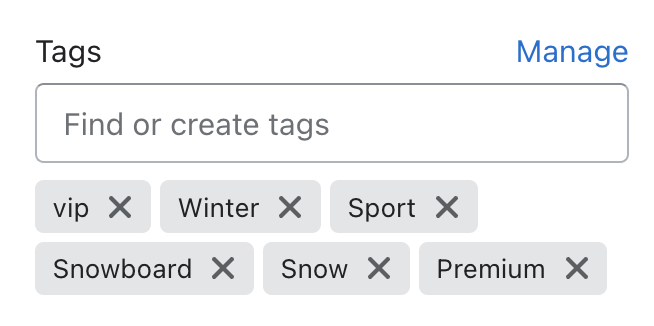
- Still in your store admin, navigate to Products > The Complete Snowboard.
- In the right column, under Tags, add vip.
- Click Save.
Nice work. If you like, you can go back to your online store. If this is a group workshop, you can explore the products and checkout process while everyone else finishes!